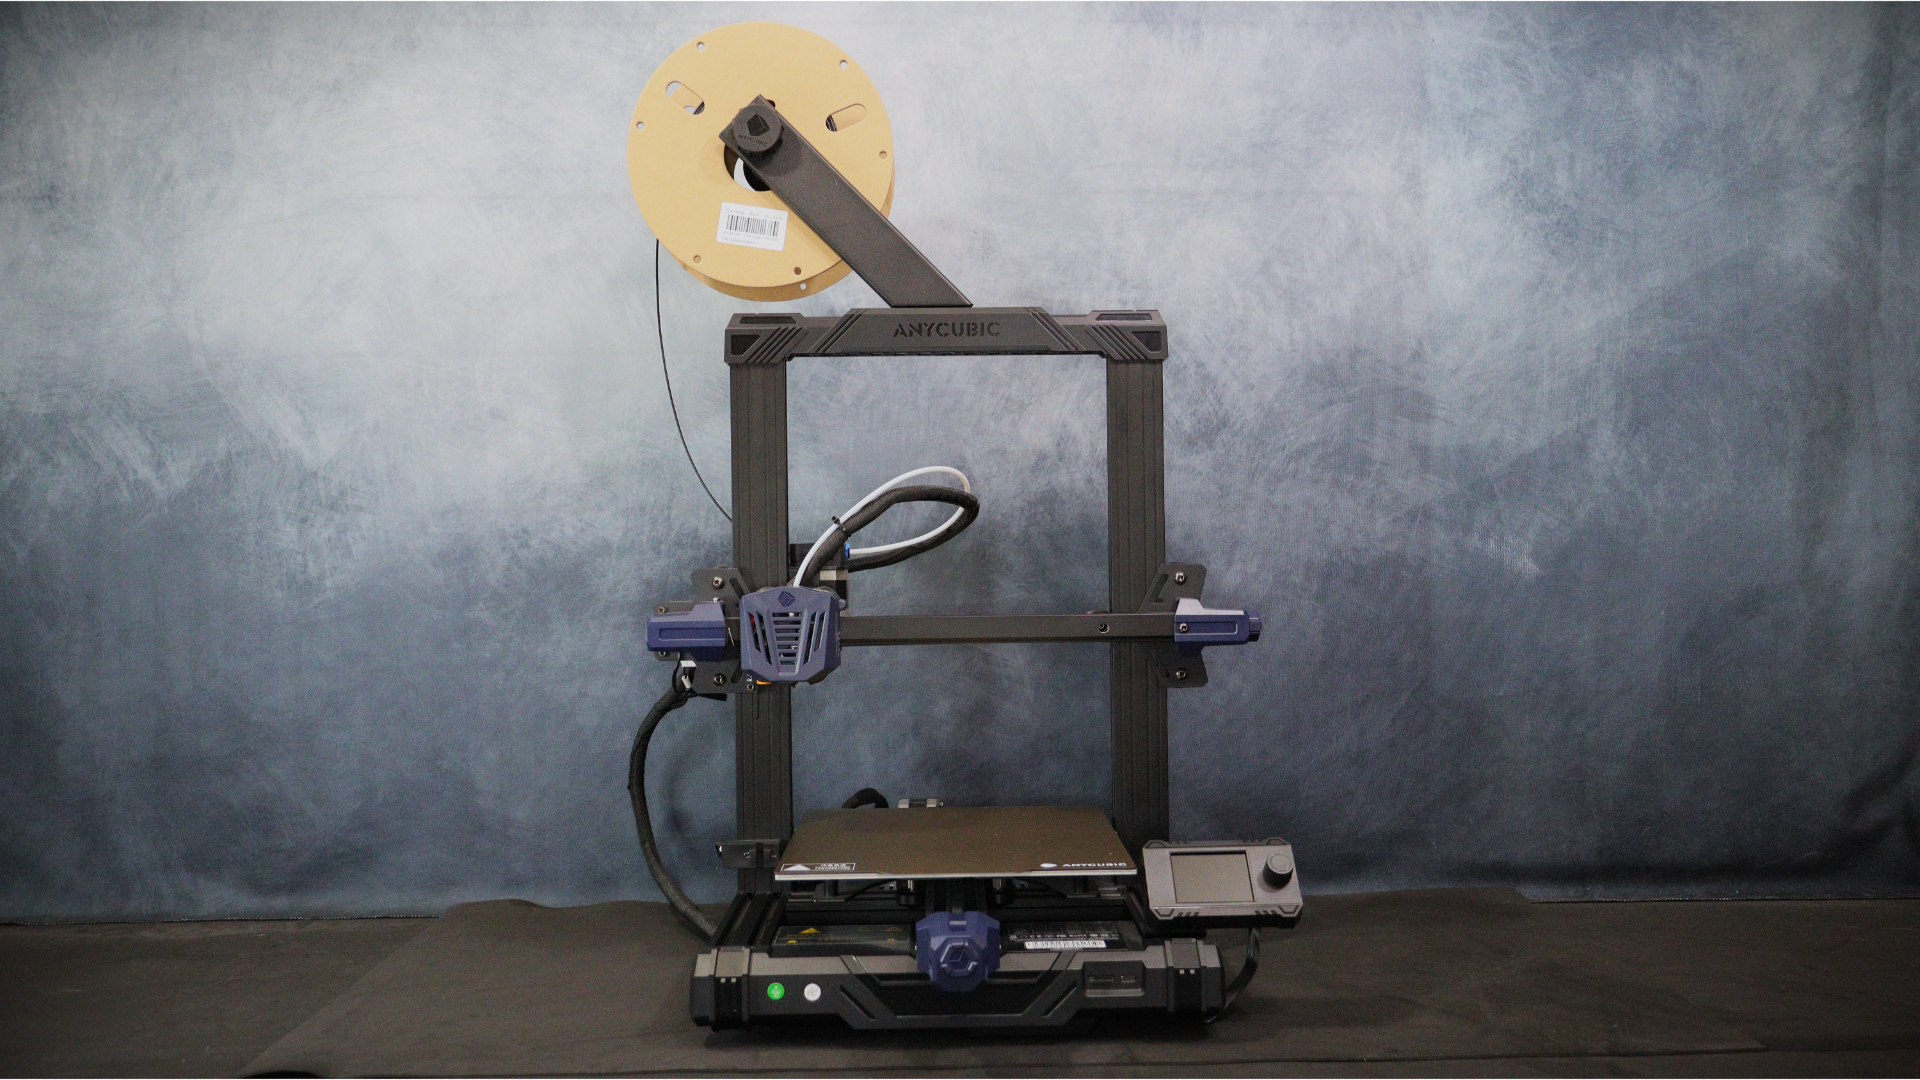
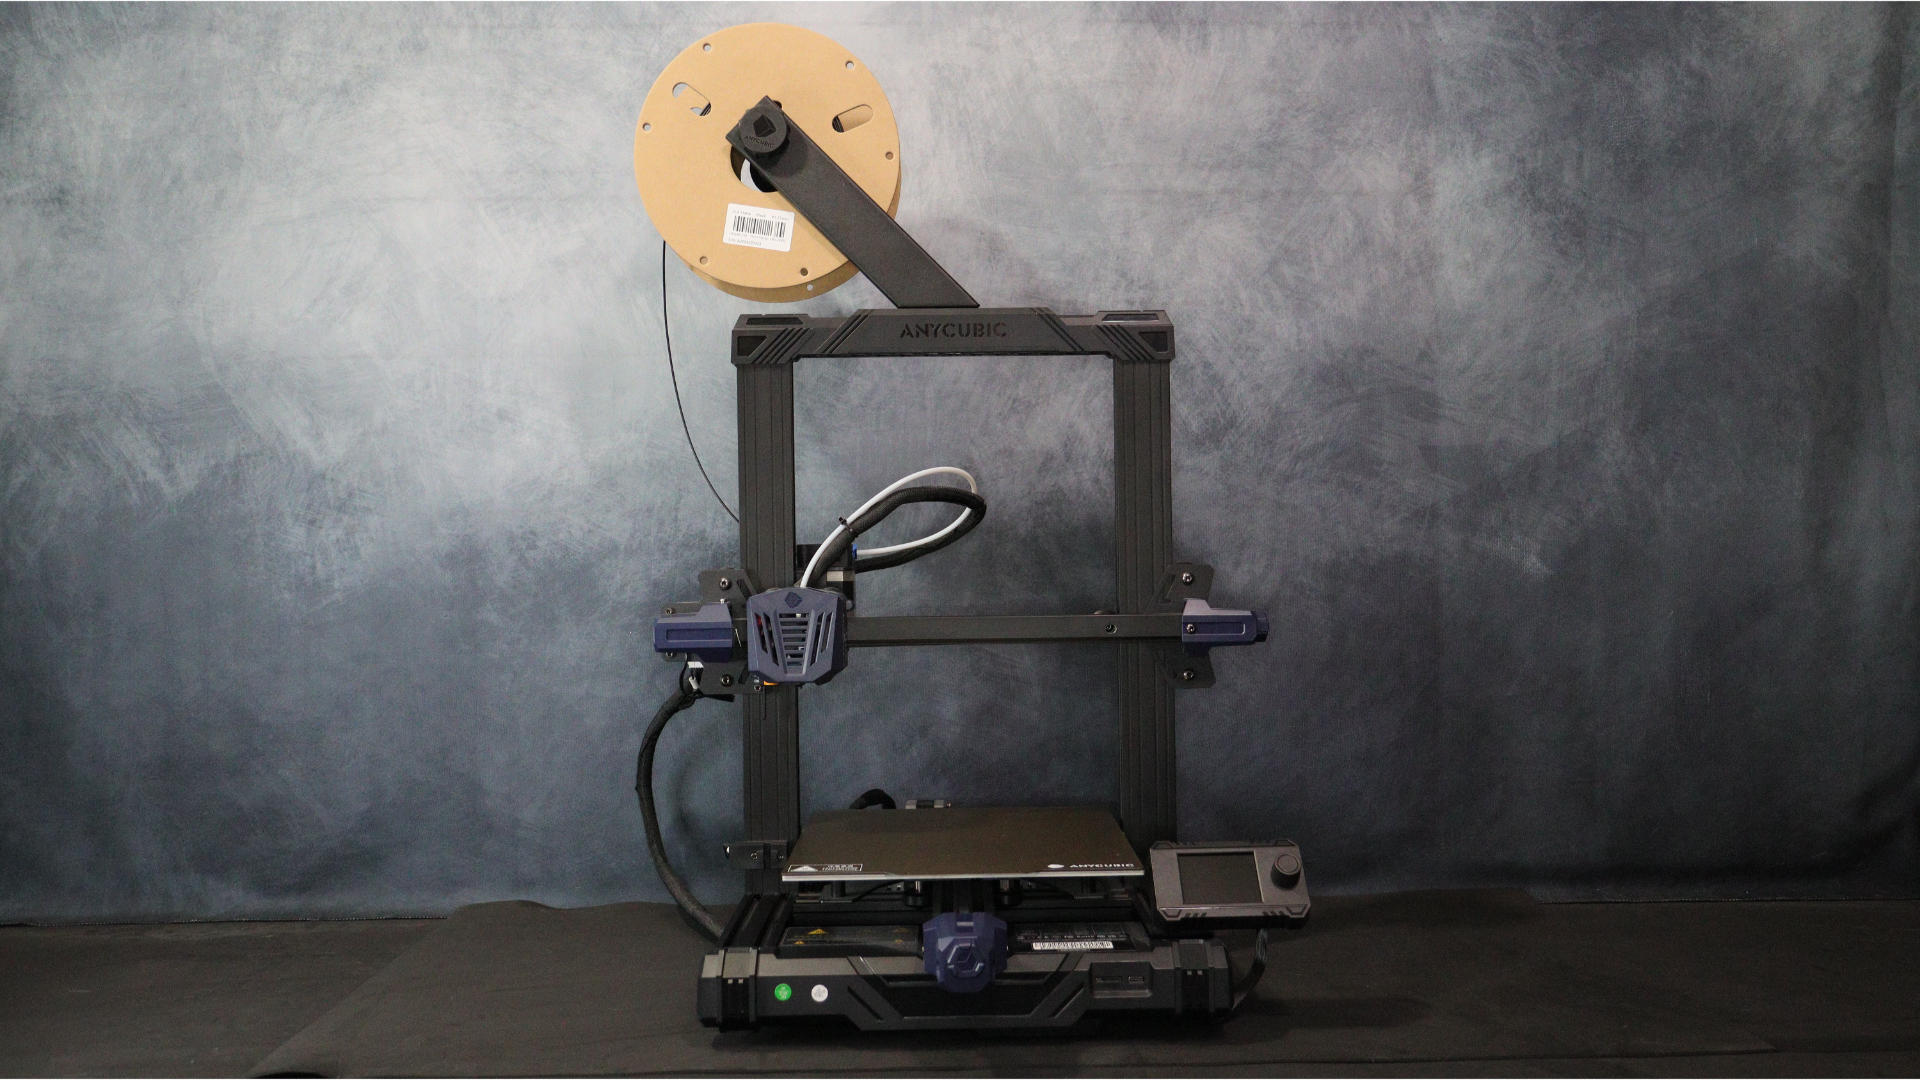
Anycubic is celebrating its 7th anniversary, and to commemorate this occasion, it has released (opens in new tab) the new Kobra Go. The Kobra Go is aimed more at the budget market of 3D printing, but just because it’s marketed as a budget printer doesn’t mean it’s lacking in features.
We’ll take a look at the newest member of the Anycubic Kobra family and see how easy it is to assemble, how good the printing is, and what options are available on the new 2.4″ dial controlled screen. The Kobra Go is positioned to compete in the budget market, which is currently dominated by the Creality Ender 3 series and other similar self-assembly printers.
If you’re looking for an entry-level FDM 3D printer and don’t mind the self-assembly aspect, then the Kobra Go is one of the best 3D printers out there and a worthy contender to the long-reigning Ender 3’s throne.
Anycubic Kobra Go: Design and Setup
The Anycubic Kobra Go has the same design aesthetics as the previous Kobra models released by Anycubic this year. The new Go differs from its predecessors in a few ways, the first being that it is a DIY printer. As a result, you will be responsible for the majority of the assembly. The screen is the other major difference you will notice right away.
The standard touch screen has been replaced with a 2.5″ dial controlled display with an easy to read and navigate menu system. This was done to help reduce the final cost of the unit. We had no issues with the screen or the menus themselves in all of our testing.
What’s in the box?
Kobra Go base
X/E axis kit
Print head
Z-axis Passive block
Screen with dial control
X- axis limit switch
X- axis tensioner
Z- axis motor
Anti- backlash unit
Spool holder mount
Spool pipe and nut
Top Beam
X- Axis profile
Z- Axis profile (right)
Z- Axis profile (left)
Z- Axis threaded rod
Various assembly screws and washers
X- axis synchronous belt
Micro SD card
USB card reader
Spare nozzle
Lubricant
Power cord
Sample filament
The assembly procedure is outlined in a small pamphlet that comes with the 3D printer and consists of only 13 steps. Anycubic has provided a clear and detailed set of assembly instructions for the Kobra Go. When assembly and bed-leveling are taken into account, the entire process will take the inexperienced 3D printing user 45 minutes to an hour.
The first step is to assemble the frame with the pair of 2040 aluminum extrusion pieces that will be secured to the frame with two screws on each side. We discovered that turning the base of the print on its side made this task easier.
When finished, slide the hot end assembly onto the X rail. Once the Synchronous Belt and X axis tensioner are in place, carefully lower the assembled gantry onto the Z axis profiles, making sure to line up the wheels. Anycubic has made it simple by labelling all of the screws and washers required in each step. After you’ve finished the main assembly, you’ll need to go over the Kobra Go for final checks, which will include adjusting the belt tension on the X and Y axes.
The next step is to level the X-axis gantry with a block on the bed while adjusting and tightening the Concentric wheels on both sides.
Then, if there is any wobble in the print bed, repeat the process on the bed wheels.
When you’re ready to print, use the supplied ties to secure the cable to the Bowden tube and then to the extruder mount, leaving enough slack for the printer to move the hot end to the far right without binding.
You will also need to adjust the hot end’s wheels. Adjust the bottom wheel slowly until there is no wobble and all three wheels are in good contact with the rail.
Before turning on the printer, make sure the power supply is set to the correct voltage for your country using the toggle switch on the back of the printer.
The Kobra Go is now powered up and ready to level the bed and install filament.
Anycubic Kobra Go: Specs and features
- Auto bed levelling
- Near silent printing

Key specifications
Mainboard: 32-bit
Build Volume: 220 x 220 x 250 mm
Layer Height: 0.1mm to 0.3mm (0.4mm nozzle)
Print Speed: typical: 60 mm/s max speed 100mm/s
Materials: PLA, TPU, ABS, PETG, other
Build Platform: Spring steel magnetic build plate
Auto levelling: 25 point Anycubic LeviQ system
Interface: 2.4” color screen dial control
Connectivity: Micro SD Card, USB-C
Extras: Modular design, optional filament run out sensor (sold separately)
Despite being a low-cost printer, Anycubic did not skimp on features. A 32-bit CPU powers the Kobra Go. The same CPU is used in the other Kobra printers, and they also use silent stepper drivers, which is always a plus. The Kobra Go is a nearly silent printer in terms of noise, with the majority of the audible noise coming from the cooling fans on the hot end and mainboard.
Throughout our testing, the Kobra Go averaged around 48 dB, which is perfectly acceptable for working in the same area without being distracted by noise.
As with all of the Kobra range of 3d printers, the Kobra Go comes with auto bed levelling thanks to the LeviQ system, so you don’t need to manually calibrate the printer making it much friendlier for beginners (and convenient for even seasoned 3D printing enthusiasts.
Anycubic Kobra Go: Print quality and speed
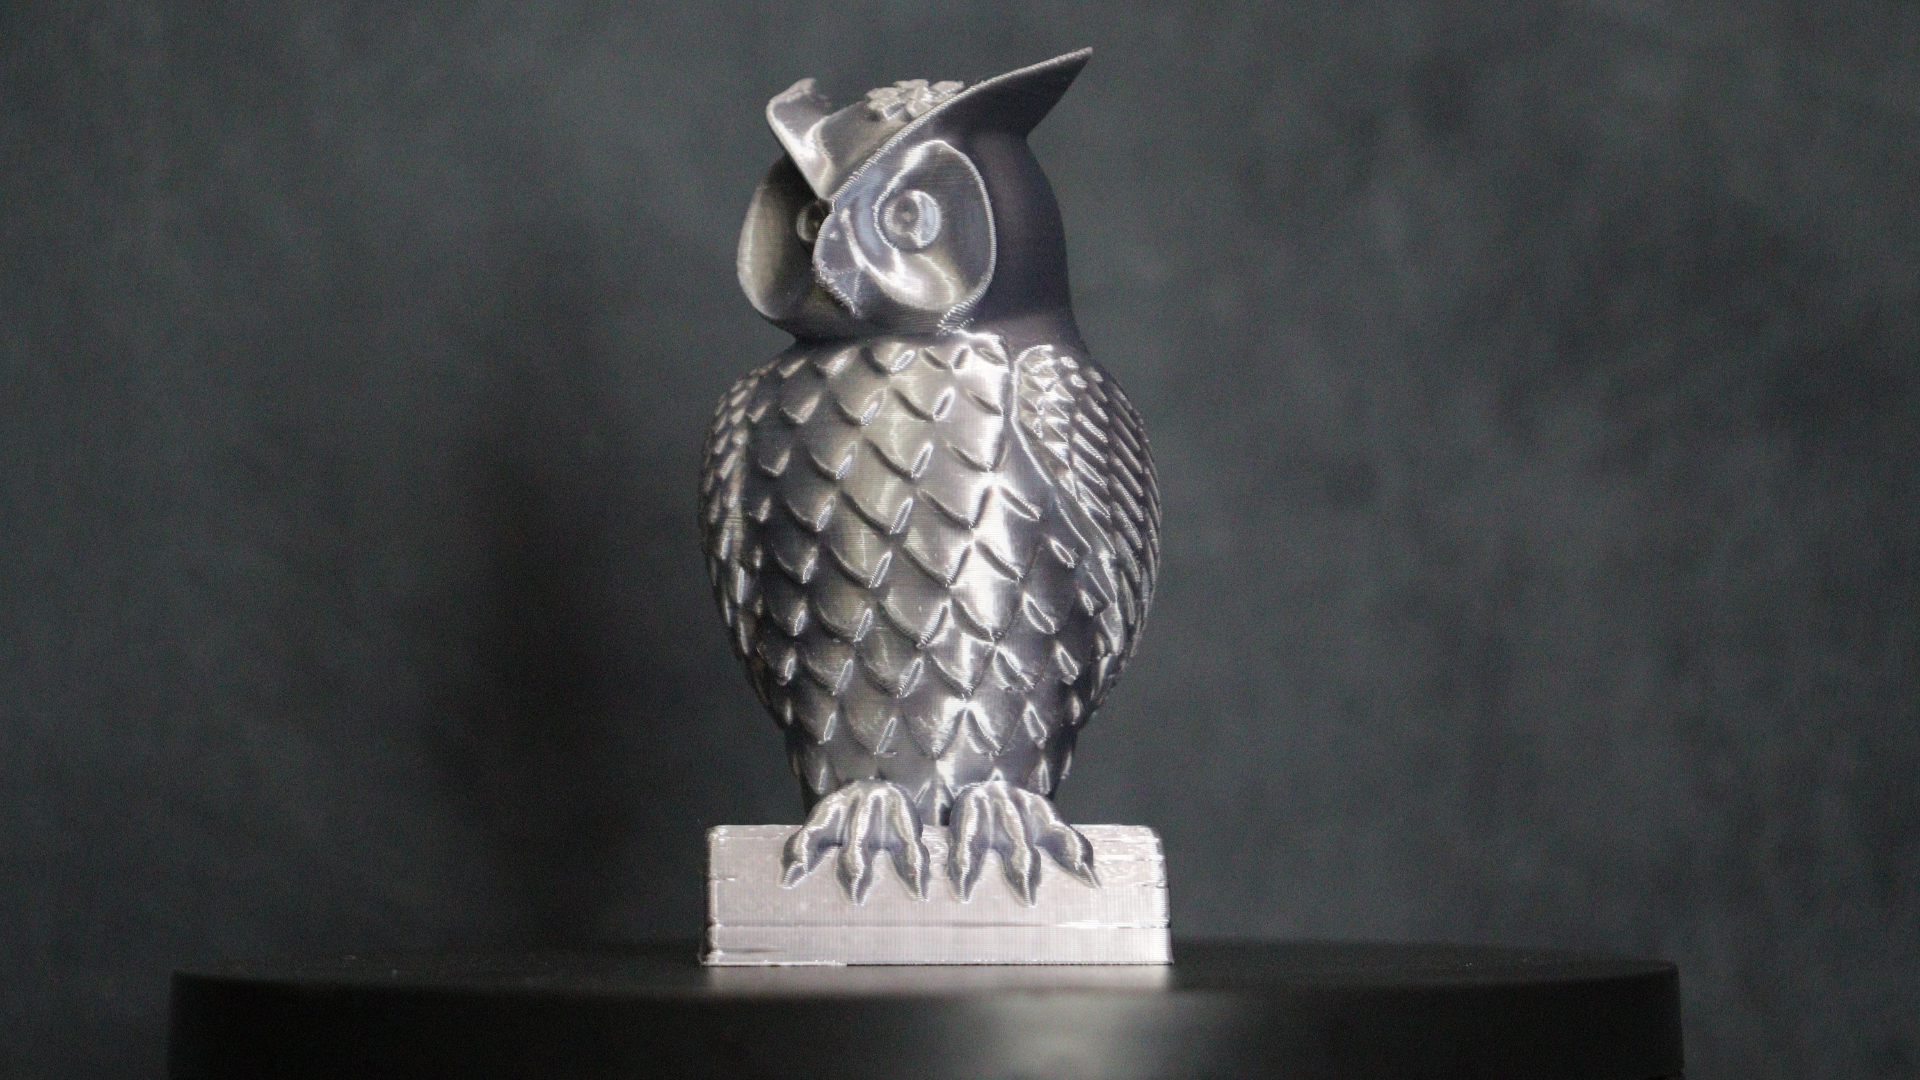
The included Owl test print was the first model we decided to print. This file comes pre-sliced with the settings provided by Anycubic on the SD card. The print was very clean for a print straight out of the box with no calibration steps. The finished model impressed us greatly.

Flexifactory’s Flexi T-rex was the next print we decided to try. We sliced this model at 65 mm/s at 0.16 mm layer height and 15% cubic infill. The model came out very clean, and all of the joints were free-moving, with no binding or issues with any of the joints, just like the test print.
We continued with the Flexi style models by printing the Flexi Triceratops model from Flexifactory. We used the same settings as in the previous test, and the results were similar. All of the joints moved freely and without difficulty. The print surface was also exceptionally clean, with no sign of over or under extrusion.
The Hellraiser Pinhead Bust from Hex3D is the final model we chose to highlight the Anycubic Kobra Go. This print is divided into five pieces. We printed the 5 pieces using the same slicer settings as in all of our tests, which took us just over 90 hours in total. We were astounded by the results. All of the pieces printed exceptionally well, demonstrating that the Kobra Go is ideal for long prints that take several days. The Anycubic black matte PLA really makes this model pop, and we finished it off with 101 wire nails on the head. This is one of the best prints we’ve seen from an advertised low-cost unit.
Anycubic Kobra Go: Price & Warranty
Pre-orders went live on September 12th, offering an early bird price of $189 (opens in new tab) for the first 1000 units (at time of publishing, there are still units available at the early bird price). Once the early bird units have sold the Kobra Go will have a regular price of $219 (opens in new tab).
The kobra Go will be available directly from Anycubic during the early bird, then they will be available from amazon and other sellers online at a later date. As with all the printers Anycubic sell they include a one-year warranty.
Should you buy the Anycubic Kobra Go

During our time with the new Kobra Go, we encountered no issues with any of its parts or components. We were pleasantly surprised by the print quality of this ostensibly low-cost printer. The Kobra Go may be inexpensive, but it prints like a mid-tier FDM. All of the prints in our testing were excellent, with only minor adjustments to the provided profile required. We even did some longer prints that lasted 55 hours and had no problems throughout. The majority of our printing was done at 65 to 70 mm/s and 0.16 mm layer heights, and the quality was excellent.
If you want to get started with 3D printing, we recommend checking out the Kobra Go. It could be the ideal printer for you. Even if you’re a seasoned 3D printer user, the Kobra Go is an excellent addition to any studio or hobby room.


