Due in large part to the extraordinary popularity of the Ender trilogy, Creality is a household name in 3D printing. The Creality Ender-3 S1 Pro, the newest addition, has a lot to live up to.
The Ender-3 S1 Pro is an upgraded version of the base Ender 3 S1 and itseems fundamentally similar to many other mid-range 3D printers in terms of design, but don’t be fooled by its unassuming appearance. As you start printing, it becomes clear that the Ender-3 S1 Pro is superior to almost anything else available at this price point. It blends that classic open frame style with some new design upgrades and the result is one of the best 3D printers on the market.
Creality has modified the Ender 3 S1 Pro using every tool at its disposal and it’s loaded with quality of life and performance boosting tech including a full-metal dual-gear direct drive extruder, CR-touch bed levelling, a 300 °C capable Sprite Extruder Pro and a light bar that illuminates the entire workspace.
Let’s dive in and check out the Ender 3 S1 Pro in more detail.
Ender 3 S1 Pro: Setup & design
- Simple setup
- Auto-levelling
You’re going to have to do a little work to put the Ender 3 S1 pro together, but it’s all straightforward and the instructions are clear. The Z-axis gantry needs to be connected to the main base first. Use the black M5x45 socket head cap screws that are provided for this. Don’t over-tighten them.
What’s in the box
Printer base
Z and X axis assembly
4.3-inch LCD touchscreen
Spool holder
Filament run out sensor
Power cable
Tool kit for assembly
Plastic scraper
Side cutters
USB cable
Spare nozzle
USB reader
Manual
The Sprite Pro extruder must then be mounted to the X-axis carriage. Use four of the provided M3x6 bolts to lock it in place after manually clamping it on. You can then affix the touch screen to the base once that is finished. Here, as opposed to the non-Pro version, the screen is already affixed to its mount. You save a little bit of time by doing this. To attach the touch screen, just use three of the long M3x40 bolts and the proper Allen key.
The spool holder with the integrated filament sensor comes next. This one fastens to the horizontal frame bar with a simple clamp. Bolts are not necessary. After completing that, it’s time to connect the Ender 3 S1 Pro’s wiring in its entirety. You truly can’t go wrong because all wire harnesses are labelled and fully pre-routed. Verify that the power supply’s voltage input selector is set to the appropriate voltage as a last step. Assembly took roughly 30 minutes to complete.
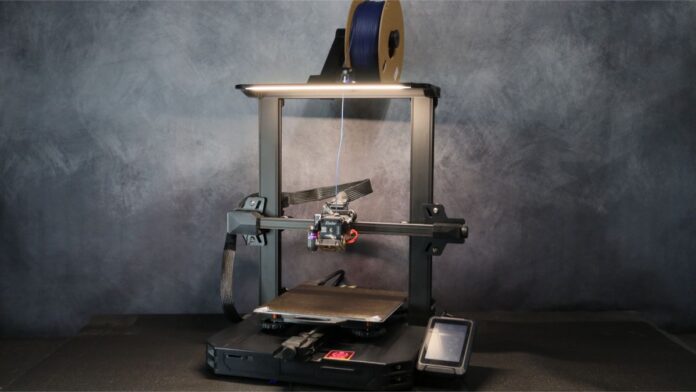
The Ender 3 S1 Pro does not fall short in terms of design. The famed conventional Cartesian style of the Ender 3 S1 Pro is maintained. The top light bar, which illuminates the entire desk, is the main addition.
For simple filament flow into the Sprite extruder, Creality also included a spool holder with bearings. The menu system’s simple-to-navigate panels make tuning and loading prints simple. They give you all the features you need to calibrate and change a range of factors, such as jerk, acceleration, and extruder steps.
Ender 3 S1 Pro: Specs & features

- 220 x 220 x 270 mm build volume
- All-metal direct drive extruder and hot-end
- Fans can be loud
The Ender 3 S1 Pro has a total build volume of 220 x 220 x 270 mm (LxWxH), which is slightly larger than the original Ender 3 and its V2 upgrade, which only could only reach 250mm in print height.
The S1 Pro has an all-metal “Sprite Pro” hot end in contrast to the standard S1, which has a PTFE-lined “Sprite” hot end. One of the main reasons you might prefer the S1 Pro over the S1 is this hot end, which is an enhancement over the standard version. The higher temperatures it can reach means it can print a larger variety of filaments.
Key specs
Printing technology: FDM
Build volume: 220 x 220 x 270 mm
Print precision: ±0.1 mm
Layer Height: 0.1- 0.35 mm
Nozzle size: 0.04 mm
Max print speed: 150 mm/s
Nozzle temperature: 300º
Bed temperature: 110º
Connectivity: SD Card, USB-C
Dimensions: 490 x 455 x 305 mm
Weight: 8.6 kg
Auto-Levelling: Yes (CR-touch)
The filament route is quite short because it uses the Sprite Pro is a direct extruder rather than a Bowden extruder. This lowers the possibility of clogging and jams because there is very little opportunity for the filament to deform. Using the Ender 3 S1 Pro, you can also 3D print using flexible filaments like TPU.
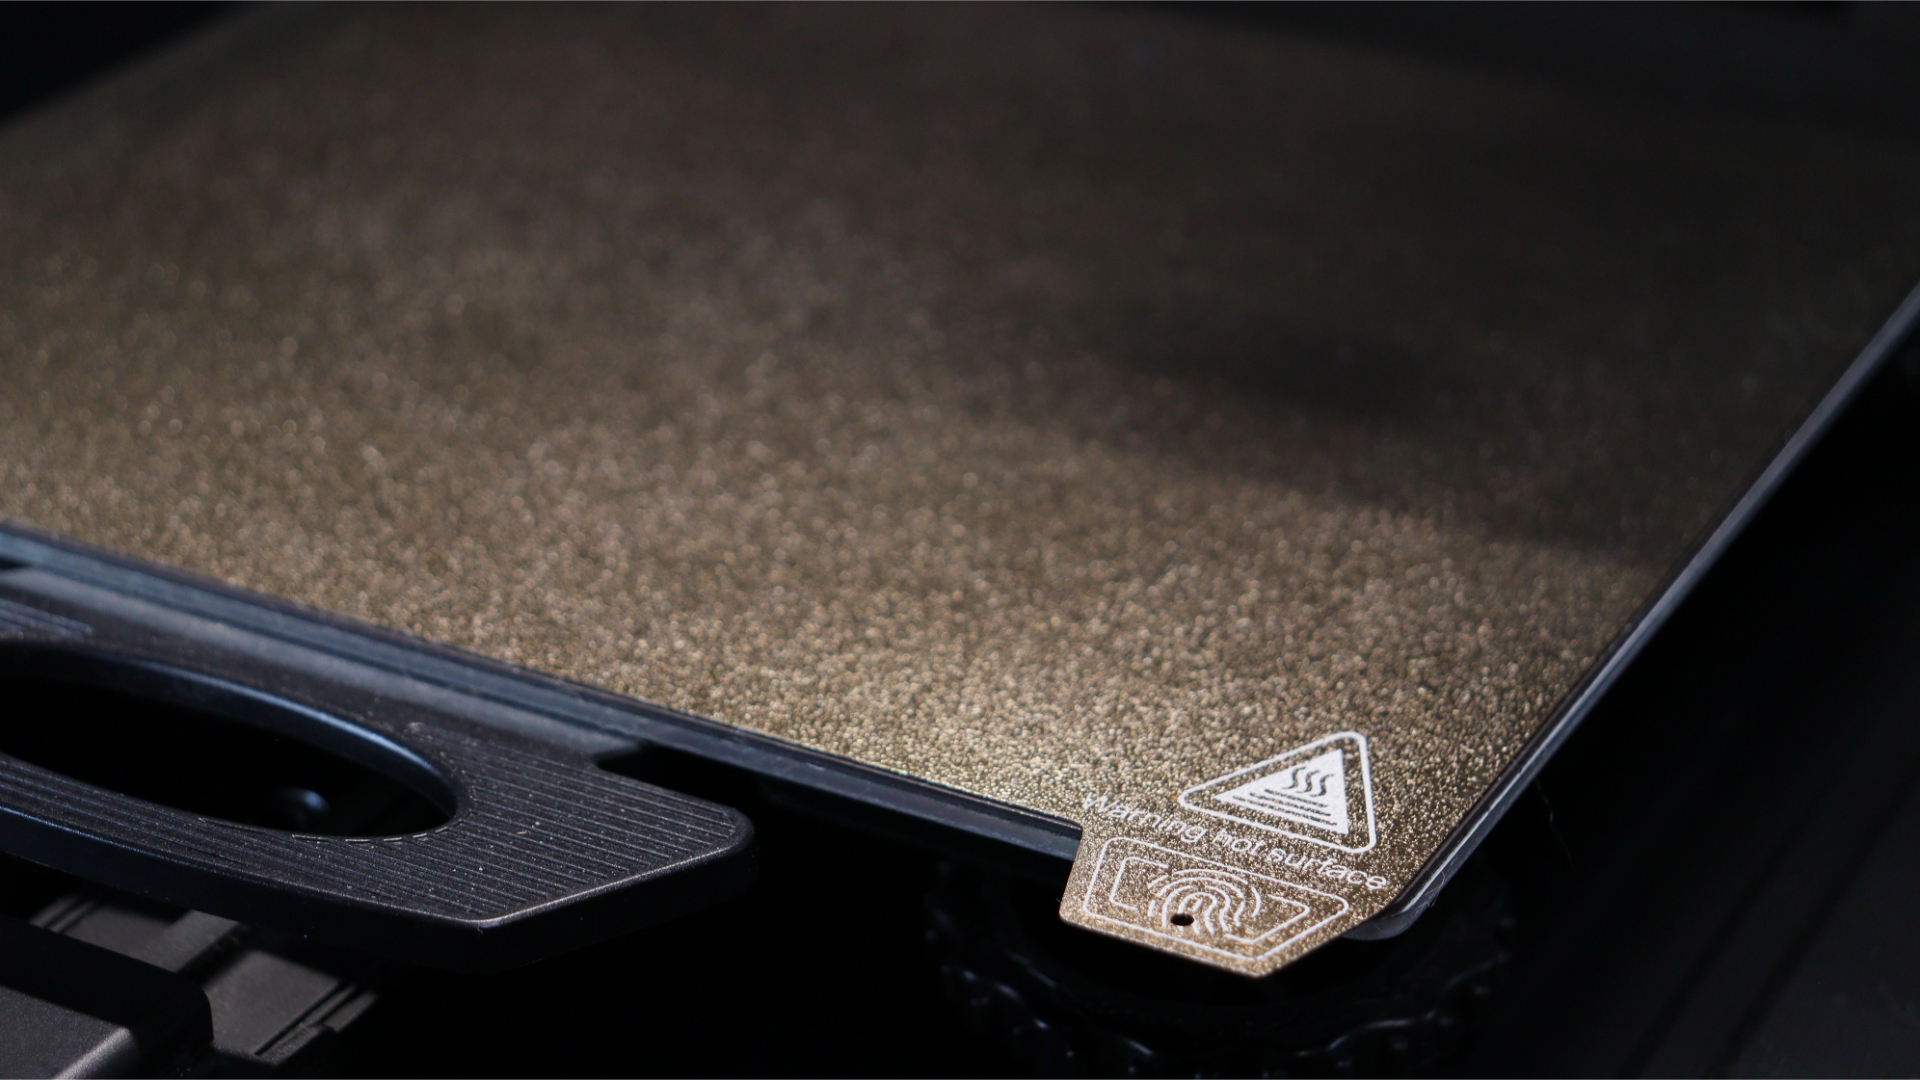
Automatic bed levelling is another function that is frequently seen on larger and more expensive 3D printers. Via the use of a CR-Touch probe, the Ender 3 S1 Pro has this feature as well. These kinds of sensors eliminate a lot of the hassle associated with 3D printing, including the requirement to manually level your print bed. During our testing we found the CR-Touch on the Ender 3 S1 Pro to be accurate and trouble-free.
Our only real complaint about the S1 Pro is that the fans can be a little loud when it’s printing. Not a problem if you have a dedicated printing space, but if this is sat in the corner of your office, you might get annoyed by it.
The open frame design is useful for accessibility, but if you’re printing with some of the more sophisticated materials then you’ll need an enclosure. Creality’s lightweight, fire-resistant enclosure is also reasonably priced.
Ender 3 S1 Pro: Print quality & speed
- Excellent print quality
- Good print speeds
- Print speeds can be improved further with Sonic pad
To put the Ender 3 S1 Pro through its paces, we printed some models with the original Marlin firmware as well as a few prints with the Creality Sonic Pad and Klipper (an add-on which enhances print speeds). We never experienced a print failure with the Ender 3 S1 Pro during any of our tests.
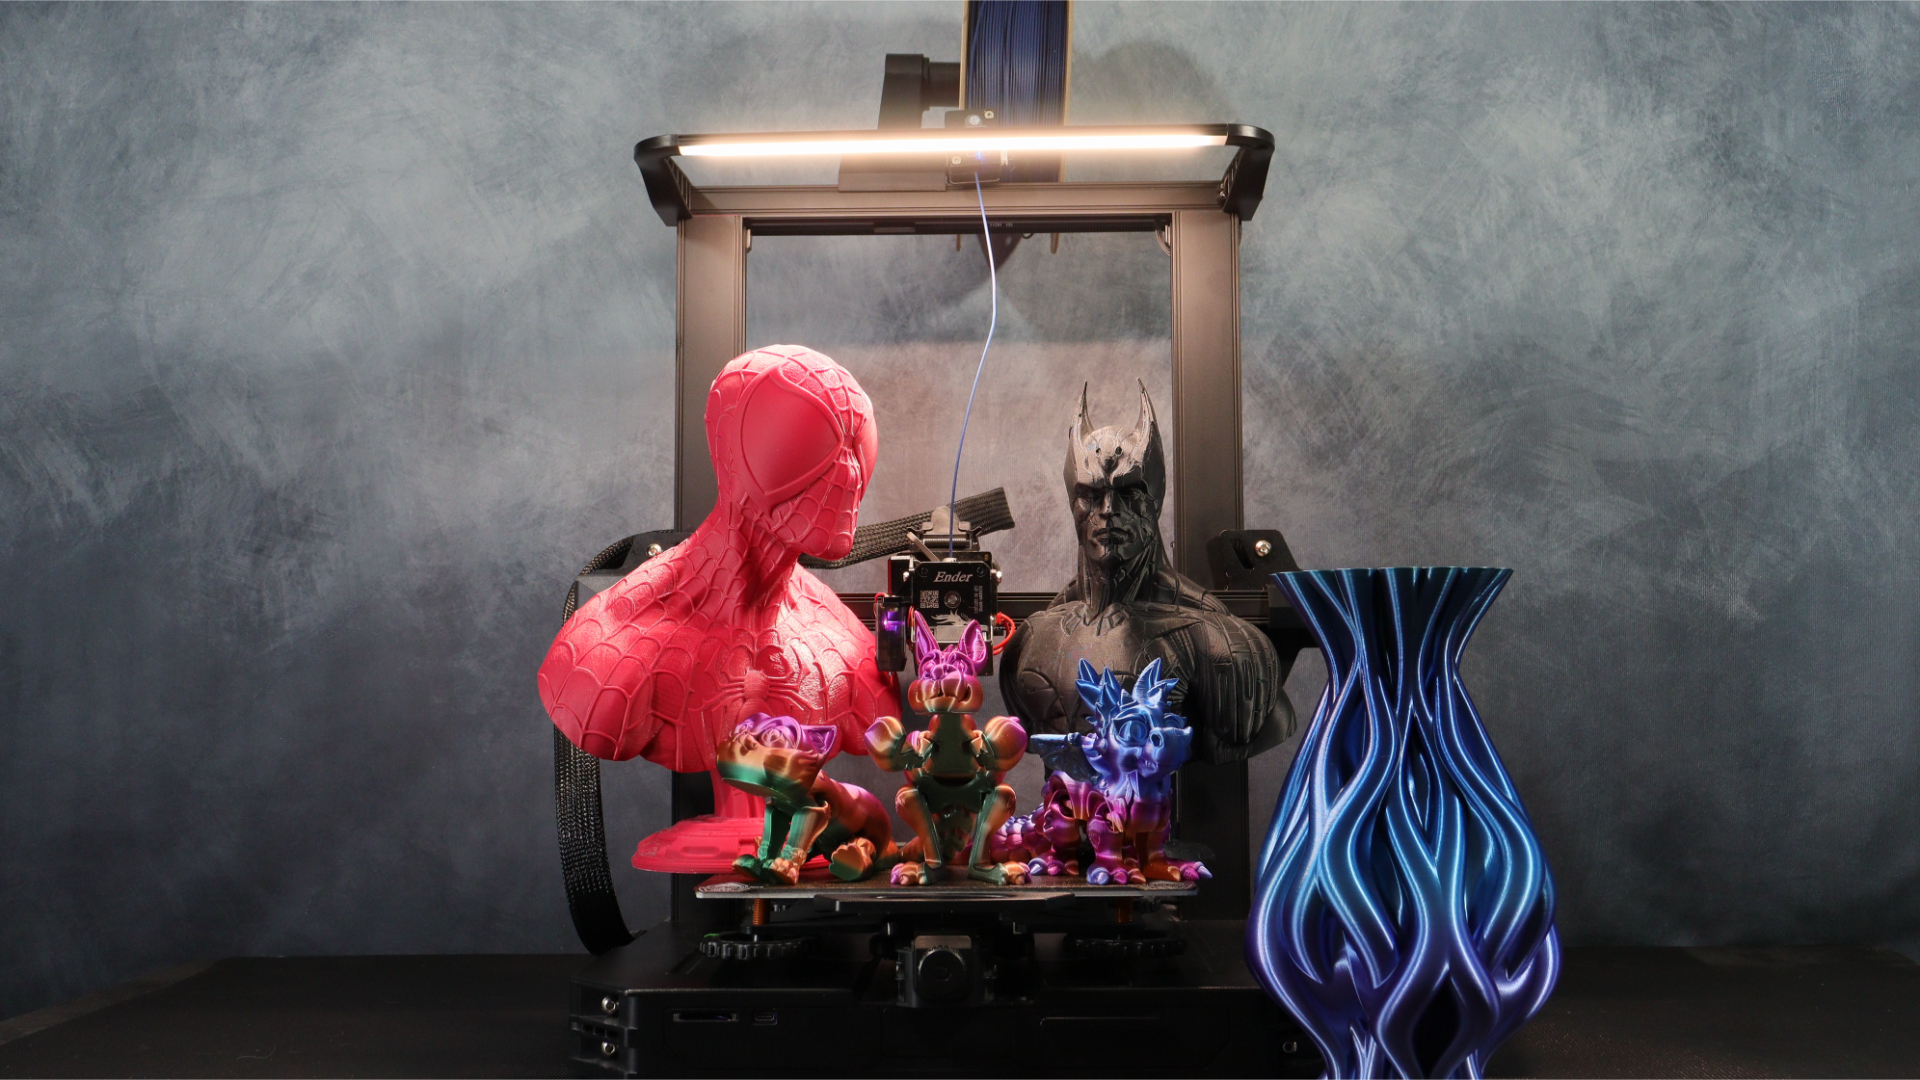
We chose to print an Eastman Batman Beyond bust as our initial model. For this model, using black Duramic3D PLA+ was the best option. The mechanical armor that Batman is wearing on this model is quite intricate; you can see the details clearly, and all of its overhangs are neat and free of debris. This was printed with 15% grid infill at 70 mm/s and 0.2 mm layer height. This print took a little over 12 hours to complete, and the outcomes speak for themselves. This model could have been printed in half the time using the Sonic Pad and Klipper over the original Marlin setup while maintaining the same level of quality too.
The next model we decided to print was the Spider-Man bust by Eastman that he just made available on Patreon. Due to the larger size of this bust, it just barely fits in the build area. We chose to employ Klipper on this print to compare the print times to the prior test. The same parameters as for the batman were used to slice the Duramic3D Brick Red PLA+, however the Sonic Pad was used to print the Spider-Man at 150 mm/s.
For this print, the base took under two hours and the bust took little over six hours. Again, this model printed beautifully at 0.2 mm layer height and 15% infill; the suit’s texture and fine details were clearly visible. This model is huge, utilizing the majority of the Ender 3 S1 Pro’s build volume. The Ender 3 S1 Pro did a terrific job with the print, and there were no complications. Once more, the results speak for themselves.
Next, we choose to try a straightforward vase print using a fresh spool of Eryone Universe rainbow silk PLA, which offers a stunning array of colours. Using Cura’s spiralize outer contour mode and a layer height of 0.2 mm, this straightforward print took just under 2 hours to complete. The color changes in this print highlights how well it turned out. Even though it’s a straightforward print, the model shines out thanks to the color variation and sheen of the silk PLA from Eryone Universe. It would look great in any office or home.
We decided on a Flexi Valentine’s Dragon from Printverse for the following model. These types of flexi models are highly well-liked among 3D printing aficionados. The results of printing this model with the same Eryone Universe Silk PLA as the previous model are excellent. The print turned out beautifully; there were no problems with any of the moving joints, and the wings, which were printed separately, fit into the body’s openings precisely.
Using the same 0.2mm layer height and at a speed of 70mms the Sprite direct drive extruder handled the numerous retractions with little stringing that could be seen in the finished print, despite the fact that this model has a tonne of motions and retractions during the printing process.
As our final test model, we decided to print the Flexi Kangaroo from Flexi Factory using Eryone Candy Silk Rainbow PLA. This model, like the last one, came out nicely. It used the same 15% grid infill and 0.2mm layer height as the other models, and at 70 mms, the Sprite extruder once more handled the print flawlessly with no stringing.
The Ender 3 S1 Pro handled all we threw at it during our brief testing. The added light bar made it exceedingly easy to check on prints and even view final models.
Ender 3 S1 Pro: Price & warranty
- $479
- 12-month limited warranty
The Ender 3 S1 Pro costs $479 USD on Creality’s website. It’s comfortably one of the best 3D printers in this price range. For comparison, the Anycubic Kobra Plus costs $499 and while it has a larger print bed, it only has a Bowden extruder and lacks the capability to print with some high temperature filaments. The print quality of the Kobra Plus, while decent, doesn’t hold a candle to the Ender 3 S1 Pro too.
Creality also offers a 12-month limited warranty from the date of purchase, as well as a 3-month limited part warranty on consumable parts like the nozzle assembly and glass platform, as applicable.
Should you buy the Ender 3 S1 Pro?

Creality has the reputation and name that it does for a reason. The Creality Ender-3 S1 Pro is a fantastic printer with that kicks out high quality prints at an affordable price. The upgraded hot-end and extruder give this a truly premium feel and build quality, while additions like the lighting array add some quality of life improvements to your printing process. The fans can be a bit loud when printing
Ender 3 S1 Pro: Upgrades
The Ender 3 S1 Pro has many expandable options including the Creality 5W and 10W laser engraving kits. Simply swap out the extruder for the laser module and plug the laser into the expansion port on the left side to start cutting and engraving various materials. If you do decide to purchase the laser kit, we strongly advise you to use an enclosure and ventilation to vent any smoke or other fumes produced by the engraving and cutting processes.
Creality also has the Sonic Pad if you want faster print times while also being able to remotely monitor the printer. This is a fantastic addon that allows the user to run Klipper on the printer, allowing you to print at twice the speed while maintaining print quality and operating up to four printers at the same time. Checking out the Creality Sonic Pad is definitely worthwhile.
Although while the Creality Ender-3 S1 Pro is an excellent 3D printer on its own, performance and usability skyrocket when the Sonic Pad is included. The laser head is also an additional choice which expands your tool-set.
If this 3D printer isn’t for you?
There are a number of additional choices on our top 3D printer list if the Ender 3 S1 Pro isn’t for you. The Elegoo Neptune 3 series offers excellent value for the money if you need a bigger print bed. We reviewed the Elegoo Neptune 3 Plus earlier this year and we were very impressed with the print quality and value for money it offered. You can pick up the Elegoo Neptune 3 Plus for $350 (opens in new tab) from Elegoo.
You could also consider the base Ender 5 S1 (opens in new tab), which includes an optional acrylic enclosure kit, if you’re looking for something that is simple to enclose but yet looks beautiful in your workspace. It’s a bit cheaper than the S1 Pro at $380 (opens in new tab) and comes with most of the same features, though you miss out on the full-metal extruder and hot-end, touchscreen control panel, and lighting array. We prefer the S1 Pro, but if you’re on a budget, the base model is a fine machine too.


